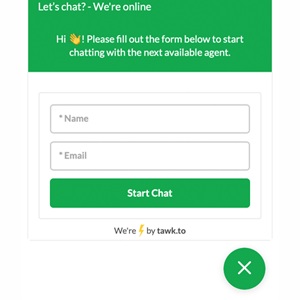
Live Chat on WordPress with tawk.to allows real-time communication with customers and easy management through an admin interface. To add Live Chat, create a Tawk.to account, select the language and add your website details. Then, add team members as administrators. You can add the code directly or install the tawk.to plugin in WordPress. Simply go to Plugins, add the plugin, and log in to configure it. Reload the page to see the Live Chat in action. This tutorial aims to help users add Live Chat on WordPress with tawk.to and invites them to explore more WordPress tips for knowledge expansion.
Are you looking to add Live Chat to WordPress with tawk.to? Live Chat allows you to communicate with your customers in real time, providing an admin interface for easy management. Live Chat is a great way to support customers by answering their questions.
Step 1: Create a Tawk.to account
First, fill in your email and password, then click on the "Signup for free" button. Next, select the language you want to use and click "Next: Create Property". You will be asked to add your site to the configuration by entering your blog name and address, then click "Next: Team Members". On the following page, you can add users as administrators by adding their emails. The final step is to add the code after the body or install the tawk.to plugin.
How to install tawk plugin in WordPress:
- Go to Plugins => select Add new and type "tawk keyword".
- Go to Settings, select Tawk.to, and log in.
That’s it! Now, just reload the page and see the result. We hope this tutorial on adding Live Chat to WordPress with tawk.to will be helpful to you. For more WordPress tips and new knowledge, follow our fan page on Hocwordpress Group. Enjoy learning more about WordPress!
(5 votes, 1 vote) Rate this article.


