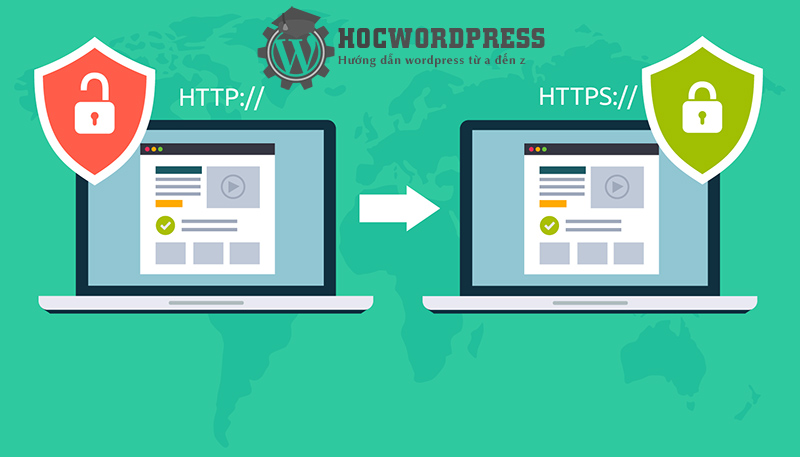
Switching from HTTP to HTTPS is essential for WordPress websites due to the security benefits it provides, such as protection against hacker attacks and website impersonation. Using an SSL certificate helps secure data, emails, and customer information, increasing trust in the website and enhancing business reputation. Before switching, it is important to back up website data and choose between free and paid SSL certificates. Plugins like Really Simple SSL can help automate the switch, while manual methods involve editing files and configuring redirects. Updating essential settings, such as sitemap links and Google Search Console information, is also necessary after migrating to HTTPS.
Switch from HTTP to HTTPs is almost mandatory for WordPress websites today. Making this change offers many benefits, such as better security, protection against hacker attacks, and avoiding website impersonation. So, why should you change your domain name to HTTPS?
- When you use a domain name to run website data, email, etc., there is a high possibility of security vulnerabilities, making your site vulnerable to hackers. Using an SSL certificate helps protect your website data, email, customer information, and orders.
- HTTPS helps secure and encrypt messages exchanged between web browsers and data storage servers.
- Switching to HTTPS proves your business’s existence and helps avoid website spoofing.
- It secures customer and business transaction information, enhancing your business’s reputation and increasing customer trust in your website. This, in turn, can lead to more and higher-value online transactions.
Before moving from HTTP to HTTPS, there are a few essential notes to keep in mind. Firstly, ensure to backup your WordPress website data to restore it in case of any incidents. Install an SSL certificate on your hosting—options include free SSL, which requires renewal every 3 months, or paid SSL, typically bought annually with an integrated insurance package.
To switch from HTTP to HTTPS, you can use plugins like Really Simple SSL. Simply install and activate the plugin in your WordPress admin panel to automatically convert all HTTP URLs to HTTPS. Alternatively, if you prefer the manual route:
- Edit wp-config.php file: Add specific code to this file to enable HTTPS.
- Change the path in the database: Use tools like Better Search Replace to update paths in the database.
- Configure .htaccess redirect: Add a rule to redirect all HTTP traffic to HTTPS in the .htaccess file.
After migrating to HTTPS, make sure to change essential website settings. Update your sitemap link, adjust the robots.txt file if using Yoast SEO plugin, edit Google Search Console information, update CDN links, replace URLs in Google Analytics, and update all social links to HTTPS.
In cPanel, install an SSL certificate for your website and utilize the Force HTTPS Redirection feature to change all HTTP protocols to HTTPS without needing additional plugins. By following these steps, you can seamlessly switch from HTTP to HTTPS and enhance your website’s security and trustworthiness. Apply these techniques to your website today and stay tuned for more WordPress insights.


