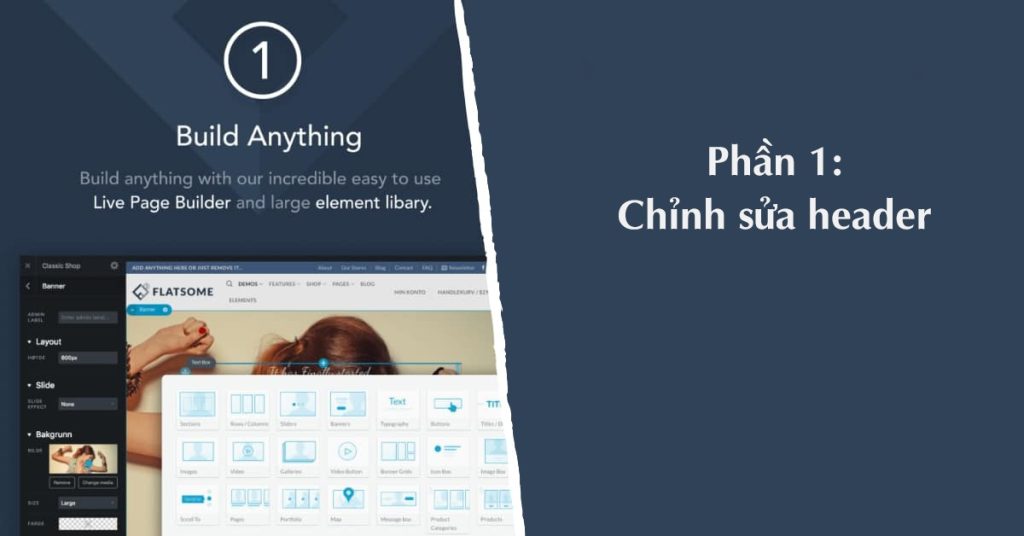
The article is a detailed guide on how to edit the header of the Flatsome WordPress theme, which is known for its sales web interface. The steps include accessing the customization interface, selecting a style for the header, editing the top bar, main header, and sticky header, as well as adding components like logo, menus, and icons using the drag and drop header builder feature. The process also involves editing elements in the header, such as the logo, account section, and shopping cart appearance. The article concludes by suggesting further exploration of additional components for customization.
In the previous article, I introduced the Flatsome theme, the number 1 sales web interface for WordPress. Let’s dive into the first step of editing the header of the interface. The header is the first part of the website and includes important components such as the logo, main menu, sub-menus, search, and shopping cart.
To edit the Flatsome interface, go to the menu Flatsome -> Theme Options. This will bring up the customization interface. Once there, click on the Header menu.
The Header editing menu will appear, where you can then proceed to the Presets menu to choose a style for the header. There are about 10 styles available, and after selecting one, click Post and then go back to the Header.
Flatsome divides the header layout into three main parts: Top bar, Header main, and Header bottom. You can customize the Top bar, which is the top element of the header. You can edit the height, nav color, top bar background, and navigation style.
After each edit, remember to click Post or Publish to save your changes.
Moving on to Header Main, you can edit this section similarly to the Top bar. If you don’t use the Header Bottom, you can skip editing that section.
Next, edit the Sticky Header, which is the header that stays fixed as you scroll down the page.
Once you finish editing the header’s appearance, it’s time to customize the components in the header. Look for the Header Builder section, where you can drag and drop different components like Search, Top Bar Menu, Social Icons, Logo, Main Menu, Account, and Cart.
To edit specific elements in the header, simply click on them. For example, you can edit the logo, Account section, and shopping cart appearance. Create your Main Menu and set its position to Main Menu, then do the same for the Top Menu to appear in the Top Bar Menu position.
Don’t forget to adjust the display type for Mobile/Tablet to ensure your header looks good on all devices. You can choose different components like Nav Icon, Logo, and Cart for mobile display.
Lastly, customize the Nav Icon with the style and elements you want to appear in the menu, such as Search, Main Menu, Account, and Newsletter.
After finishing all the edits, head to the home page to see your updated header in action.
In summary, this article covered the first step in editing the header for the Flatsome theme. There are many components you can add to the header, like HTML code for a Hotline number. For more customization options, feel free to explore additional components on your own.


