Configuring SMTP for Gmail requires enabling 2-Step Verification on your account. After turning on this feature in your Google account settings, you generate an App Password for your WordPress website using the WP SMTP plugin. The settings for SMTP configuration include selecting SSL as the security method, using SMTP Port 465, smtp.gmail.com as the host, and entering your Gmail email address as the username and the App Password as the password. If SSL doesn’t work, you can try using TLS with Port 587. Save the changes and test the configuration by sending an email. If successful, your SMTP configuration is complete.
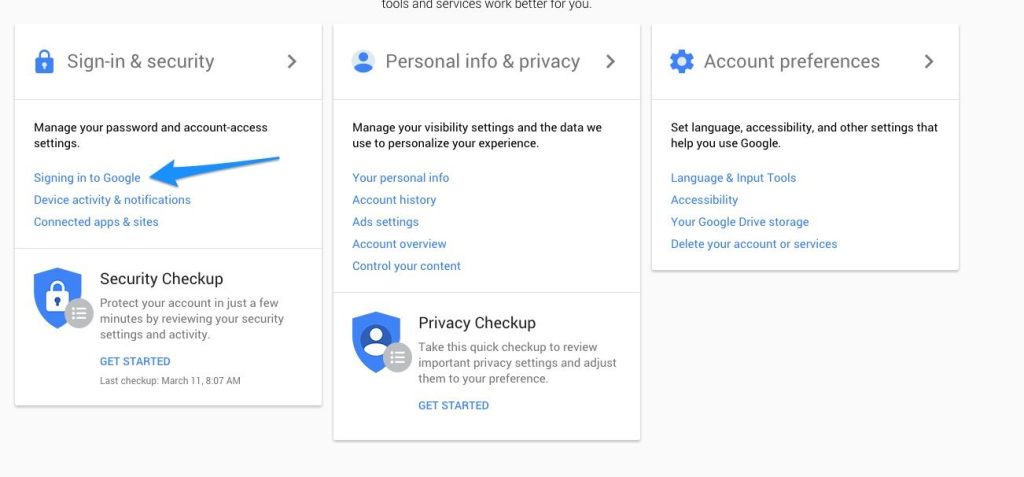
To successfully set up SMTP Gmail on your website, you need to enable two-step verification for your account if you haven’t already. You can do this by going to https://myaccount.google.com/.
Once there, navigate to the Signing in to Google section. Then, activate two-step security measures.
After enabling this feature, revisit the Signing in to Google section and select App Password. Click on this option, then choose Select app as Mail and Select device – any option will suffice, then click Generate.
You will receive a character sequence; copy this as it is your SMTP password.
Next, access your WordPress website, install the WP SMTP plugin, and configure it as follows:
- Security method: SSL
- SMTP Port: 465
- SMTP Host: smtp.gmail.com
- Username should be your email address associated with the App Password you generated.
- Password: Use the App Password obtained earlier.
(If SSL with port 465 doesn’t work, try port 587 with TLS.)
Save the changes once you’ve entered all the details. You can now use the test mail feature to send an email to verify that your SMTP configuration is successful.


