To sign up for Google Webmasters Tool, now called Google Search Console, follow these steps. Visit Google Search Console and fill in your Gmail and password. Click the arrow, add your website address, and verify your website ownership. Select HTML Tag verification method and insert the code provided into your website’s header. Install the Insert Headers and Footers plugin on your website, paste the HTML Tag code, and save the settings. Go back to Google Search Console, click Verify, and wait for confirmation. Once verified, you have successfully signed up for Google Search Console.
To sign up for Google Webmasters Tool, or Google Search Console as it’s called now, follow these simple steps.
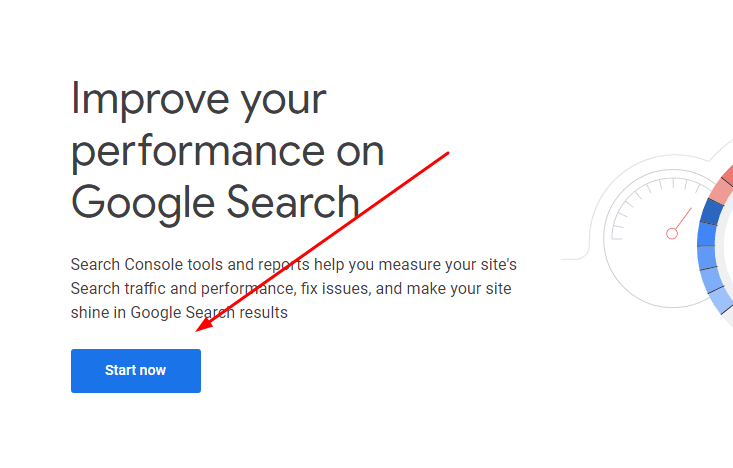
Step 1. Visit Google Search Console by clicking here.

Step 2. Fill in Gmail
Enter your Gmail address and password.
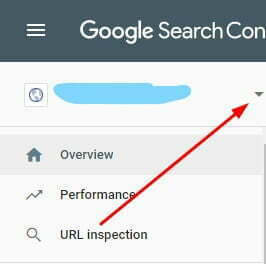
Step 3. Click the arrow and then Add Property.

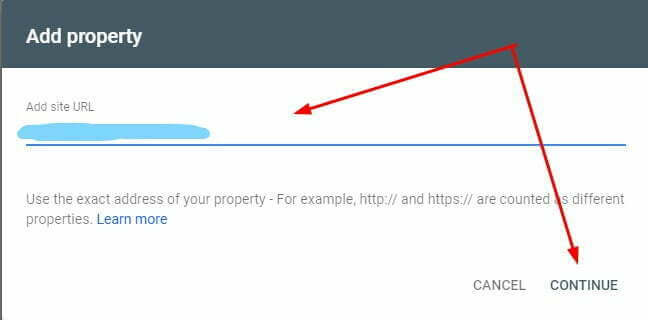
Step 4. Input your website address and click Continue.

After that, wait a minute for the system to process.
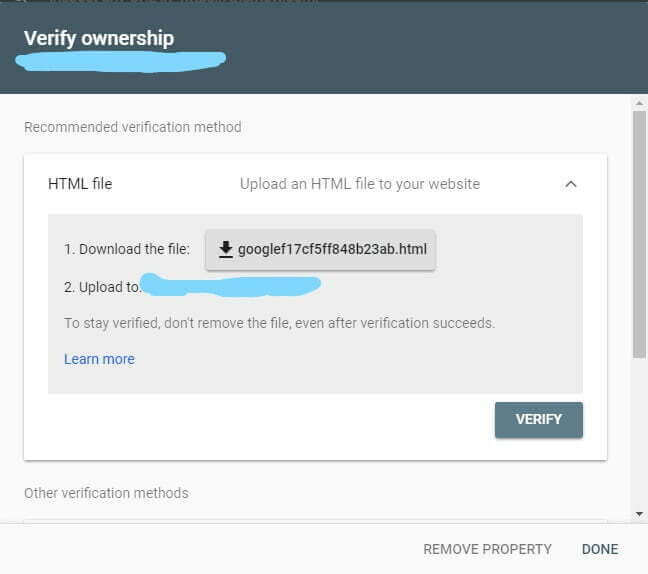
Step 5. Verify Website
Google will prompt you to confirm ownership through various methods such as uploading an HTML file, inserting an HTML tag, using Google Analytics, or via your domain name provider.
For beginners, I recommend the easiest method – HTML Tag verification.

Scroll down, click on the arrow next to HTML Tag, and copy the code provided.
Step 6. Go to your website, install the "Insert Headers and Footers" plugin, and activate it.
Step 7. Insert HTML Tag
In the plugin settings, paste the copied HTML Tag code into the Scripts in Header section and save it.
Step 8. Verify
Navigate back to Google Search Console, click Verify for HTML Tag, and wait for the verification process to complete.
Success! You have now completed the setup process.


