Fellow students, creating a menu in WordPress is easy. Simply go to Menu Display > Menu, name your menu, and add pages, posts, links, and categories. You can choose where you want the menu to appear on your website and customize the display names. To create submenus, drag links below main menu items. Remember to save your changes. While different interfaces may vary, the basic process remains similar. This article provides a step-by-step guide to help you create a menu in WordPress. Happy website building!
Hey there, everyone!
When it comes to navigating a website, the main menu is key. It’s like a roadmap to all the important pages like the introduction, contact, products, and news. If you want to create a menu in WordPress, it’s actually pretty straightforward. This guide will walk you through it.
Create Menu in WordPress
To get started, head to Display > Menu in WordPress. Name your menu and hit Create menu.

You can add pages, posts, links, and categories by selecting each item you want in the menu and hitting Add to menu. You also get to choose where the menu will appear on your site. The options vary depending on your theme, like Top menu, Main menu, Footer menu, and more.
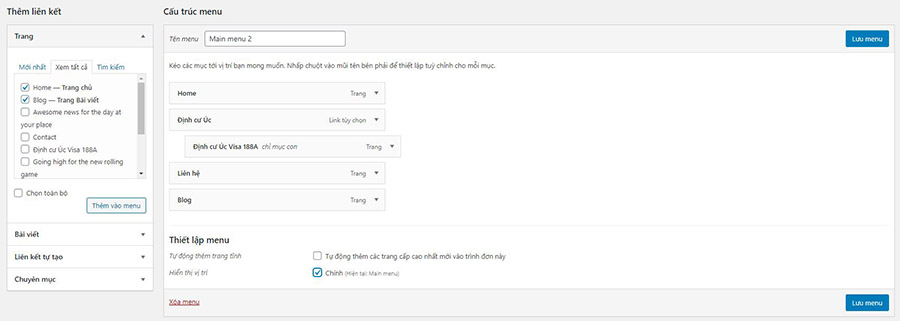
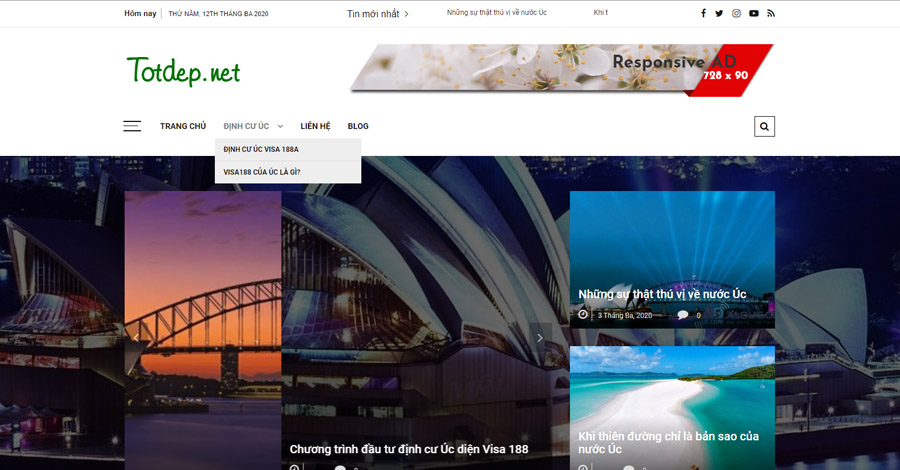
Want to tweak something? Just click the arrow button next to each menu item to edit the display name or delete it. You can even rearrange items by dragging and dropping them into your desired order. And if you want sub-menus, just drag an item below another to create a dropdown. Don’t forget to keep hitting Save menu after each change.
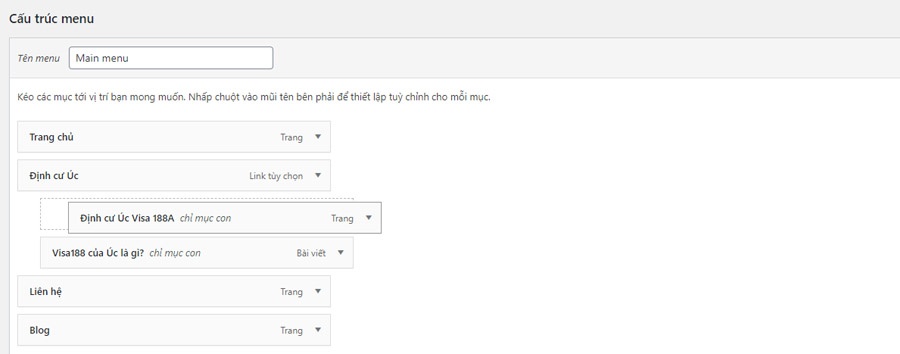
Once you’re done, check out your awesome new menu on the homepage.
Summary
See? Creating a menu in WordPress is a breeze! This guide should have you covered. Every theme might have slight variations in creating menus, like adding articles or images, setting up columns, etc. But the basics remain the same. You can always rely on this article for guidance.
Hope this was helpful! Happy designing!

