This content provides a step-by-step guide on creating a basic Contact Form using Caldera Forms, a free and powerful form creation plugin. The process includes installation, choosing a template, adding fields, setting form settings like name and success message, configuring email settings, and copying the shortcode to display the form on a page or post. The tutorial aims to make the process intuitive and easy for users to access. It also encourages readers to explore more WordPress tips for additional knowledge. By following the instructions, users can successfully create a functional contact form with Caldera Forms.
I’ll show you how to create a basic Contact Form using Caldera Forms – a powerful plugin that’s both free and packed with features.
Installation:
To get started, head over to the Plugins section in your WordPress dashboard, click on Add New, and search for "Caldera Forms".

How to Use:
Navigate to Caldera Forms and create a New form. You’ll find several templates to choose from. Select the Blank page template and give it a name.
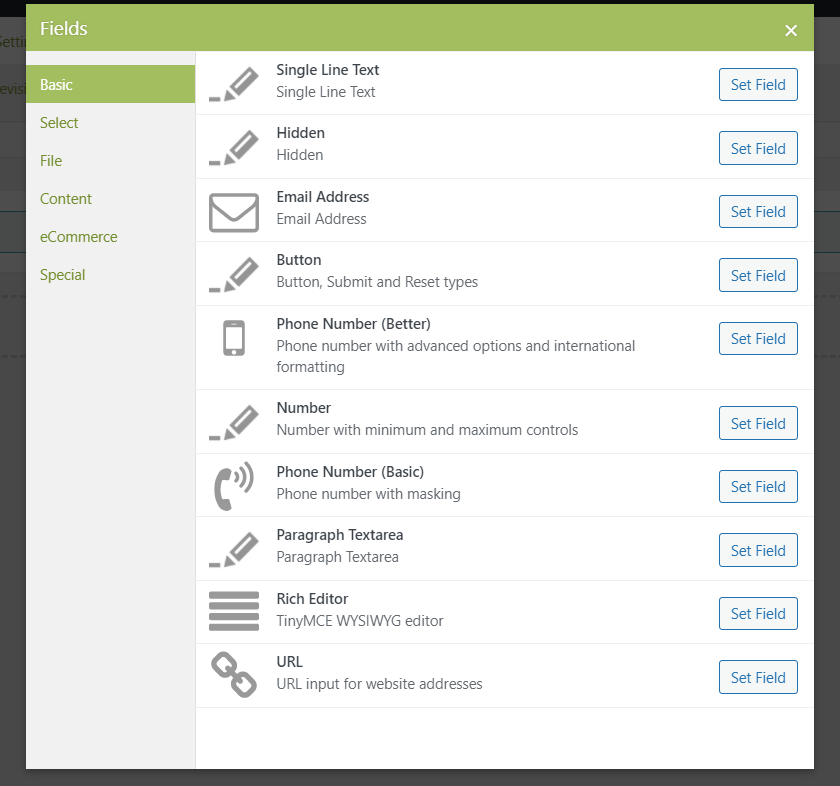
Now, in the Add field section, you have various options to customize your form.

Select the fields you want and customize them as needed. Make sure to edit the right parts accordingly.
Next, move on to the "Form Settings" section:
- Form Name: Give your form a name
- Scroll to top on submit: Decide whether the form should scroll to the top upon submission
- Success Message: Customize the notification message for successful submissions, including dynamic values like %name% for the name field

In the Email settings:
- From Email: Enter the sender’s email
- Reply to Email: Provide the recipient’s email

Once you’ve set everything up, copy the shortcode generated and paste it into a page or post to see your form in action.
Here’s an overview of the data you’ll receive when a user submits the form.

Epilogue:
With this tutorial, creating a functional and user-friendly Caldera Forms contact form should be a breeze. Dive into the world of WordPress with more tips and tricks in our WordPress tips section.
Make sure to follow our fan page to stay updated with the latest articles from Hocwordpress Group. Enjoy your WordPress journey!


